- Home
- Services
- EPOXY FLOORING
- POLYURETHANE FLOORING
- DI-ELECRIC FLOORING
- ANTI-STATIC EPOXY FLOORING
- ESD FLOORING
- ACCESS FLOORS
- CAR PARK DECK FLOORING
- CLEAN ROOM FLOORING
- HEAVY DUTY EPOXY FLOORING
- HYGIENE FLOORING
- SELF LEVELLING EPOXY FLOORING
- COLD STORAGE FLOORING
- ACID RESISTANCE FLOORING
- CAR PARK COATING
- EXPANSION JOINTS
- Projects
- Blog
- About Us
- Contact
What are the best ways to polished concrete flooring?
Polished concrete flooring is one great method of boosting durability, appearance, and longevity. A polished concrete floor could have a sleek, glossy finish that’s attractive as well as practical. Below are the best ways to polish concrete flooring in step-by-step.
1. Prepare the Concrete Surface
Preparation on concrete is essential; hence it should be cleaned thoroughly before polishing.
Clean the Floor: Clean out dirt, dust, grease, etc. Sweep, vacuum, or mop to clean the concrete floor.
Repair Any Cracks or Damage: Find any cracks, holes, imperfections in the concrete, and fill them with a concrete repair compound. Allow that time for the concrete repairs to dry and cure completely.
Remove Old Coatings (if any): If the concrete floor has old paint or coatings, they must be stripped away before polishing. You can use a concrete stripper or a diamond grinder to remove the coating.
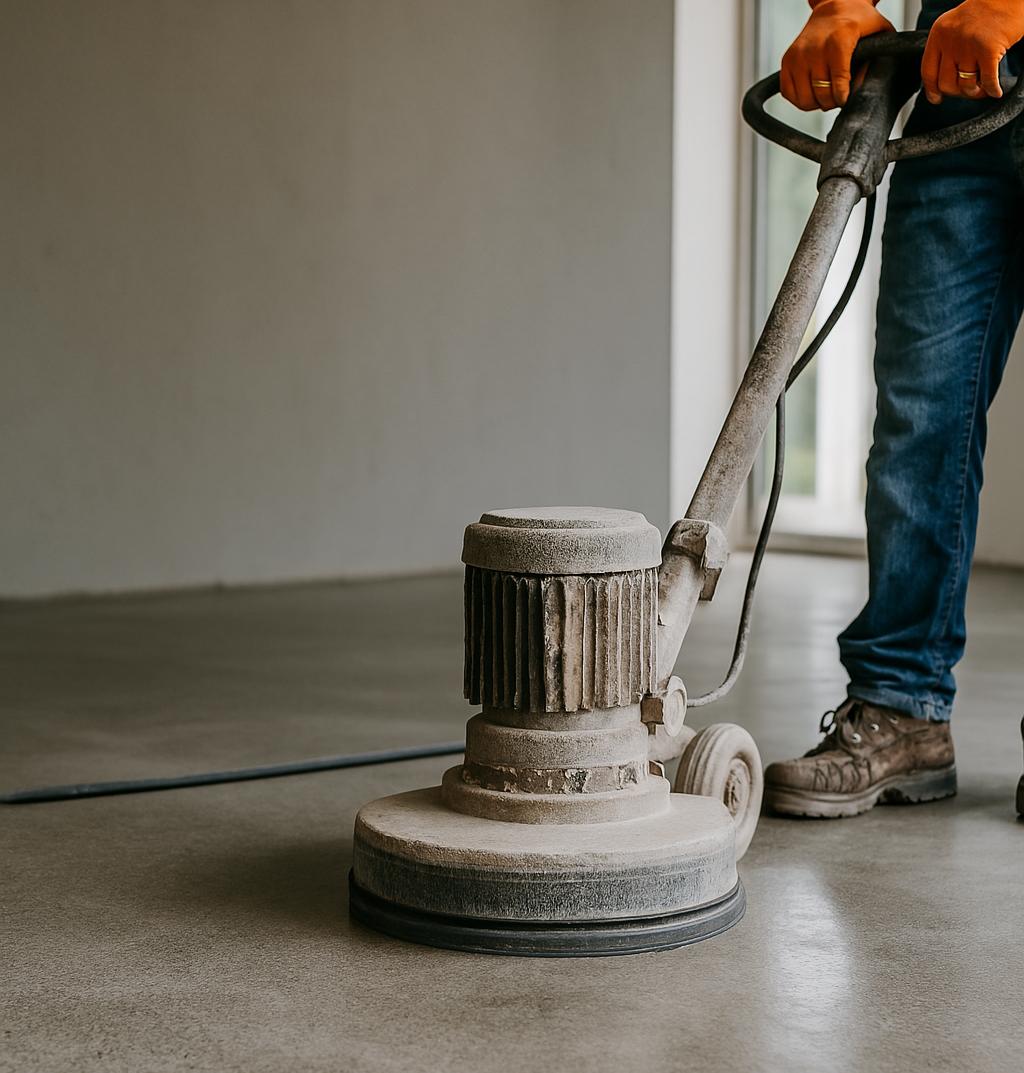
2. Grind the Concrete (Preparation Stage)
Grinding is the process of removing imperfections and creating a smooth surface. It’s done with a concrete floor grinder fitted with diamond abrasives.
Start with a Coarse Grit: Start with a coarse-grit diamond grinding disc, usually 30-40 grit to level and remove imperfections from the surface. The grinder should be moved in a back-and-forth motion to ensure that the grinding process is uniform.
Change Grit Successively: Subsequently, change the grit successively to finer grits (60-100) to polish the surface and remove deeper scratches. The overall objective is to gradually achieve a smooth, even surface.
Wet or Dry Grinding: You can either dry or wet grind the concrete. Wet grinding uses water to keep the dust down and helps cool the grinding pads, while dry grinding uses a vacuum system to collect the dust. Wet grinding generally results in a smoother finish.
3. Apply a Densifier
Apply a concrete densifier after grinding. Densifiers penetrate the concrete and chemically react with the minerals to help harden the surface and make it more resistant to wear and stains.
Select the Right Densifier: Select a densifier based on your concrete’s specific needs. Some densifiers offer added protection against stains, while others focus on improving the surface’s durability.
Apply Evenly: Apply the densifier using a sprayer or mop evenly on the floor. Allow it to absorb into the concrete, and then apply according to the manufacturer’s guidelines for the appropriate application time.
4. Polish the Concrete
Polishing is the next step, which involves progressively finer grinding pads to achieve a glossy, mirror-like finish.
Begin with Medium Grit Pads: Use a 200-400 grit diamond polishing pad. Run the grinder over the surface using the same back-and-forth pattern.
Continue to polish with finer pads such as 800, 1500, and then 3000 grit. Each successive pad will smooth out the surface further and create a higher shine.
Monitor Progress: Have a look at the floor after completing every step to see if you reached the level of polish that you were looking for. Some may require a few passes through depending on the condition and desired level of the shine.
5. Apply Concrete Sealer (Optional)
After polishing, it’s best to apply a sealer as it protects the surface and enhances the shine. The sealer acts as a barrier against stains, moisture penetration, and wear over time.
The Correct Choice of Sealer: There are mainly two types of sealers namely penetrating sealers and topical (surface) sealers. Penetrating sealers soak into the concrete and function for a long period as protection. Topical sealers provide a glossy surface layer.
Apply Evenly: Using a clean, lint-free cloth or a sprayer, apply the sealer evenly across the floor. Allow it to cure according to the manufacturer’s instruction
Buff the Surface: After the sealer has dried, you can buff the surface lightly to bring out an even greater shine.
6. Maintaining the Polished Concrete Floor
Regular maintenance is also considered important to ensure that your polished concrete floor is looking its best.
Dust and Sweep Regularly: Dust and debris can dull the finish over time, so sweep or dust mop the floor frequently.
Wet Mop as Needed: Mop with a damp cloth using a pH-neutral cleaner to avoid damaging the sealer or finish.
Reseal as Necessary: Depending on the level of foot traffic and wear, you may need to reseal the floor every 1-3 years to maintain its shine and protection.
Recent Posts
Have Any Question?
- +91 9962699888
- Sales@Chemcoats.com
- 19/10, Rangarajapuram 3rd Street, Netaji Nagar, West Jafferkhanpet, Chennai, Tamil Nadu 600083
- Sales@Chemcoats.com
- +91 9962699888