- Home
- Services
- EPOXY FLOORING
- POLYURETHANE FLOORING
- DI-ELECRIC FLOORING
- ANTI-STATIC EPOXY FLOORING
- ESD FLOORING
- ACCESS FLOORS
- CAR PARK DECK FLOORING
- CLEAN ROOM FLOORING
- HEAVY DUTY EPOXY FLOORING
- HYGIENE FLOORING
- SELF LEVELLING EPOXY FLOORING
- COLD STORAGE FLOORING
- ACID RESISTANCE FLOORING
- CAR PARK COATING
- EXPANSION JOINTS
- Projects
- Blog
- About Us
- Contact
What is the installation process for heavy-duty epoxy flooring?
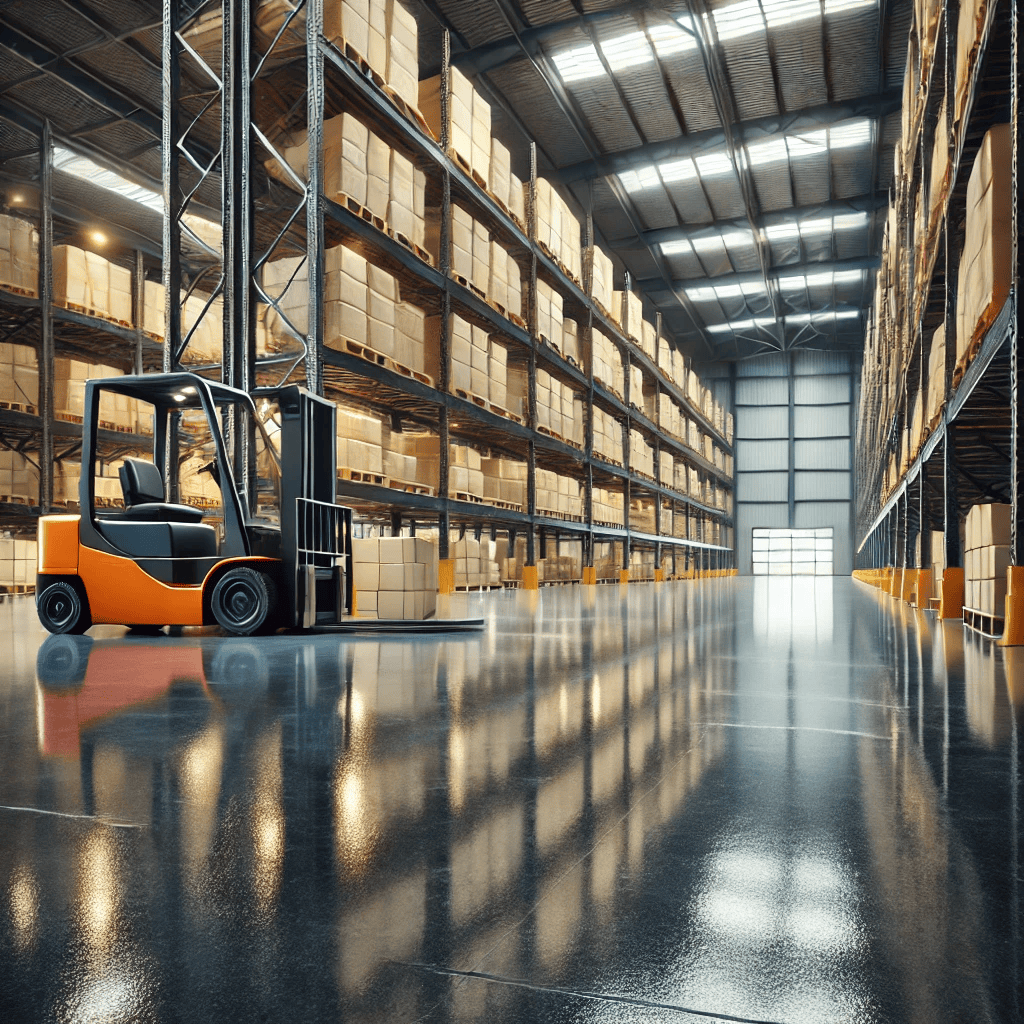
Heavy-duty epoxy floor installation is a process that requires some key steps to achieve a strong, long-lasting finish.
1. Surface Preparation
Cleaning: The surface should be cleaned properly of grease, dirt, dust, oils, or other contaminants. The epoxy’s adhesion relies on this.
Shot Blasting or Grinding: To enable good adhesion by creating a rough surface, the concrete floor is usually shot-blasted, ground, or diamond-polished. Shot-blasting abrades away the upper surface of the concrete, and the newly exposed porous underside becomes visible.
Repairing Cracks: The cracks, holes, and other defects in the concrete are filled and topped with a concrete filler or a patching compound.
2. Moisture Testing
Moisture Content Inspection: Prior to this process, one should inspect the moisture content in the concrete. Epoxy flooring does not work in conjunction with wet concrete, so it will be best if one can be sure that the surface is dry. In case the moisture content is excessive, a moisture barrier may be necessary.
3. Priming
Use of a Primer: A primer may typically be put on top of the concrete surface such that there will be improved adhesion and also avoid any problem such as bubbling or peeling. It is necessary to make sure that the epoxy bonds well on the concrete.
Time for Curing: The primer will cure within a few hours before the epoxy topcoat can be used.
4. Mixing the Epoxy Resin and Hardener
Proper Mixing: Two components of epoxy resin—resin and hardener—are supplied. They need to be mixed according to the proportion recommended by the manufacturer. They need to be properly mixed to prevent curing problems.
Batch Size: For large floors, hardener and resin are mixed in small batches so that the mixture does not set too quickly.
5. Applying the Epoxy Coating
First Coat: The epoxy mixture is evenly coated on the surface by a roller, squeegee, or trowel. The first coat is typically thin to create an even coat on the entire surface.
Curing Time: The first coat must set for a while (typically 4-6 hours) before the second coat can be applied.
6. Applying Additional Coats
Second Coat: There is a second coating of the epoxy to provide a heavy and thick finish. The coats can be two or more based on the epoxy that is utilized.
Texture Options: To have a textured surface, sprinkle a non-slip aggregate (such as sand or quartz) onto the first layer of epoxy before it dries. This will give traction to the floor, making it safer in areas that are susceptible to wetness.
7. Finishing Touches
Final Coats: If necessary, the final coat of epoxy could be a clear topcoat to provide extra protection and gloss. The topcoat also guards the epoxy against wear, UV, and chemicals.
Curing Time: Once the final coat has been applied, the floor must cure for 24 to 72 hours or more, depending on temperature and humidity, before it can be exposed to traffic.
8. Inspection
Quality Inspection: Once the curing time is over, check the floor for any spots or blemishes that were not covered. Touch-ups can be made if needed.
Provide Room for Full Cure: One must allow the epoxy floor to cure completely, typically 7 days, before heavy objects or equipment are placed on it. Hard chemicals should not be used to clean, nor should the floor be scrubbed during this period.
Recent Posts
Have Any Question?
- +91 9962699888
- Sales@Chemcoats.com
- 19/10, Rangarajapuram 3rd Street, Netaji Nagar, West Jafferkhanpet, Chennai, Tamil Nadu 600083
- Sales@Chemcoats.com
- +91 9962699888