Introduction: When Good Floors Fail
You made the investment. You shut down your production line. You paid to have the concrete shot-blasted. You installed a premium, engineered ESD (Electrostatic Discharge) flooring system from Chemcoats.
Your sensitive equipment is protected. Your safety audits are spotless. You breathed a massive sigh of relief and got back to running your business.
Then, six months later, the third-party auditor returns. The megohmmeter comes out. The floor fails its resistance test entirely. Production halts. Panic sets in.
What happened? Did the material fail? Was it a bad batch of resin? Did the grounding grid break?
In 90% of cases, the floor didn’t fail at all. The cleaning crew failed.
Industrial janitorial teams often treat highly engineered ESD floors like cheap commercial tile. In the process of trying to make the facility look spotless, they accidentally destroy the floor’s critical conductive properties. Here is the right (and brutally wrong) way to maintain anti-static flooring to ensure it lasts for decades.
The Absolute Worst Thing You Can Do: Standard Floor Wax
The single fastest way to kill an ESD floor is to apply standard commercial floor wax or polish.
Facility managers and janitorial crews love shiny floors. A shiny floor looks like a clean floor. But you need to understand what standard wax actually is. Standard waxes are made from dense polymers. Polymers are highly insulative. They completely block the flow of electricity.
By applying a layer of wax to your ESD floor, you are literally painting a thick plastic barrier over the conductive elements.
Static electricity from your workers’ shoes can no longer reach the copper grounding grid buried beneath the floor. Instead, the static builds up on the surface of the wax. It continues to build until it arcs and discharges directly into a sensitive electronic component, completely frying the circuit.
If your floor looks incredibly shiny and polished, but it is failing its ESD testing, standard wax is almost certainly the culprit. You must strip it immediately using an approved ESD floor stripper before it causes latent damage to your products.

Avoid Harsh Chemicals and Abrasive Scrubbers
ESD resin floors are incredibly tough, but they rely on microscopic conductive fibers or carbon veins to channel electricity safely into the ground.
- Do not use heavy bleach.
- Do not use caustic industrial degreasers.
- Do not use highly acidic cleaners.
These harsh chemicals chemically attack and degrade the conductive additives over time, leaving “dead spots” on your floor where static cannot escape.
Furthermore, you must ban your cleaning crew from ever using abrasive scrubbing pads. Do not use heavy-duty wire brushes. Do not use the aggressive black or brown stripping pads on your auto-scrubbers. These aggressive materials physically scratch away the protective topcoat and sever the microscopic conductive pathways.
The Correct Cleaning Protocol
Cleaning an ESD floor is actually incredibly simple, provided you use the exact right materials and enforce strict training with your janitorial staff.
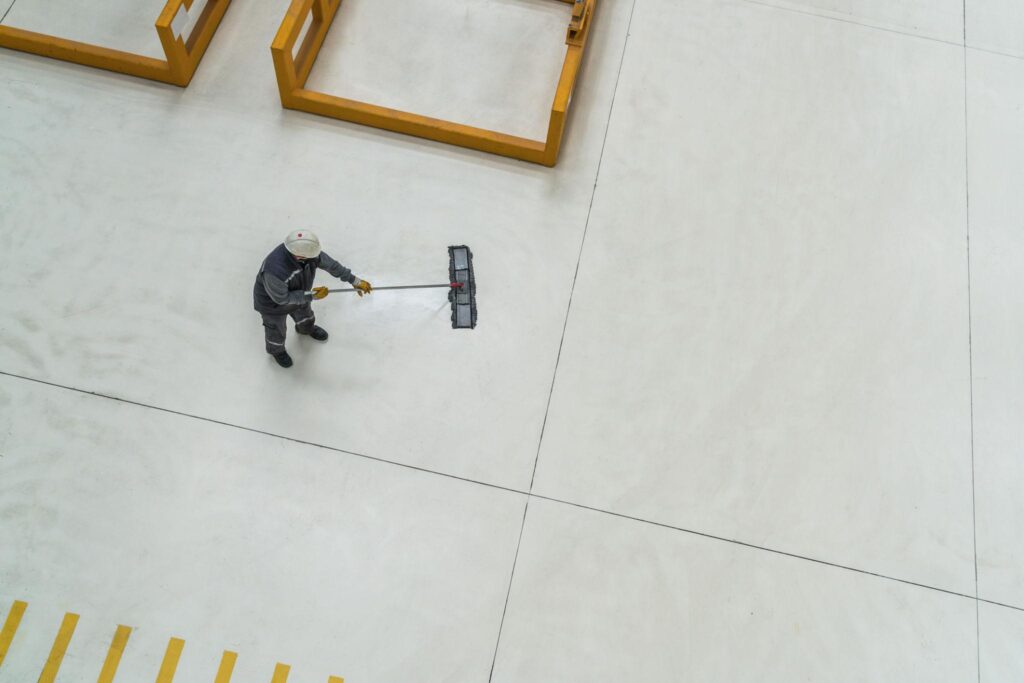
1. Dry Sweep First (The Sandpaper Effect) Always dry sweep or use a microfiber dust-mop to remove loose dirt, metal shavings, and abrasive sand before you ever apply liquids. Why? If you wet-mop a floor covered in fine sand, you are turning your mop into wet sandpaper. You are literally grinding away the surface of your highly engineered floor.
2. Use an ESD-Approved Neutral Cleaner You cannot use standard soap. You must use a specialized, neutral-pH cleaner specifically formulated for ESD floors. Standard floor soaps leave behind a microscopic, soapy residue when they dry. Over time, that soapy residue builds up and acts as an insulator, blocking static dissipation. ESD cleaners are designed to lift dirt but leave absolutely zero residue behind.
3. The Two-Bucket System When damp mopping, your crew must use a two-bucket system. One bucket is for the active cleaning solution. The second bucket is for clean rinse water.
If you use a single bucket, the water becomes filthy after five minutes. For the rest of the shift, your crew is just spreading dirty, insulative water back over the floor. Furthermore, do not flood the floor with water. A light, damp mopping is all that is required to lift the dirt.
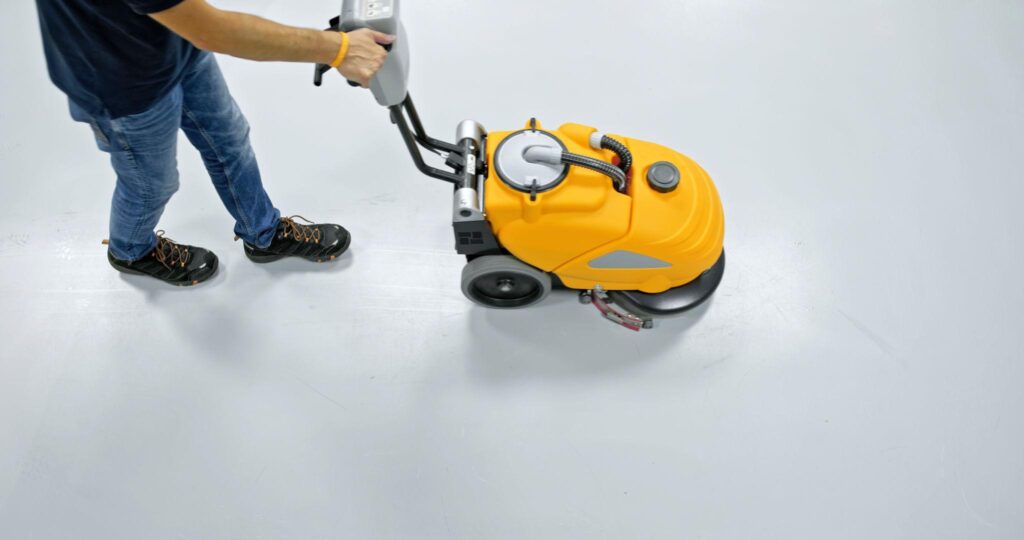
4. Auto-Scrubbers for Large Facilities For large industrial spaces, auto-scrubbers are highly recommended and much more efficient than mopping. However, they must be fitted with soft, non-abrasive pads (usually color-coded red or white) and filled exclusively with an approved ESD cleaning solution.
Don’t Wait for the Auditor to Find a Problem
Cleaning is just one part of maintenance. You should not wait for an annual third-party compliance audit to find out your floor is failing.
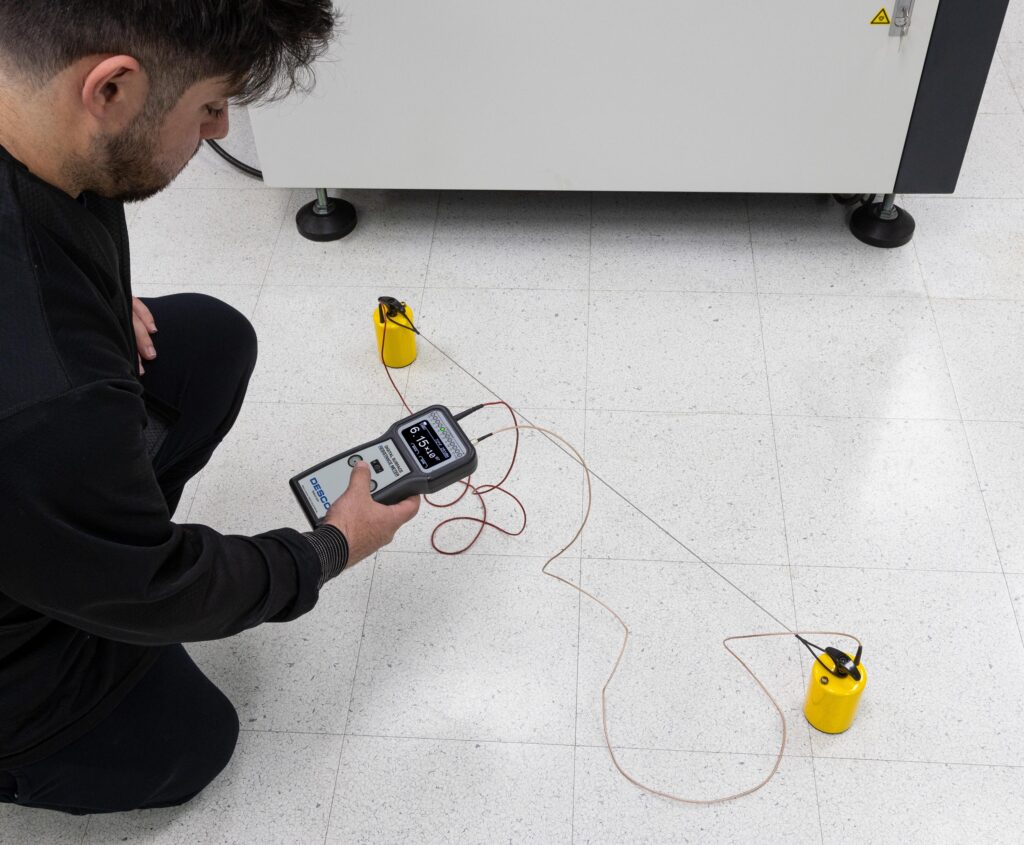
Facility managers should be testing the floor’s electrical resistance monthly or quarterly using their own in-house megohmmeter. Test high-traffic areas and keep a strict log. This proactive approach ensures you catch any subtle changes in conductivity before they cause an operational failure or a dangerous spark hazard.
Final Thoughts
An ESD floor from Chemcoats is not just a surface to walk on; it is a highly engineered piece of safety equipment. Treat it like one. By strictly banning insulative commercial waxes, training your janitorial staff on the exact protocols, and using the correct neutral-pH cleaners, your ESD flooring will easily maintain its critical static-control properties for the lifetime of your facility.